
To draw a straight line in Pixlr Editor, you can follow these simple steps:
Open Pixlr Editor:
Visit the Pixlr website (https://pixlr.com/e/) and click on the “Open Pixlr Editor” button. This will launch the Pixlr Editor interface.
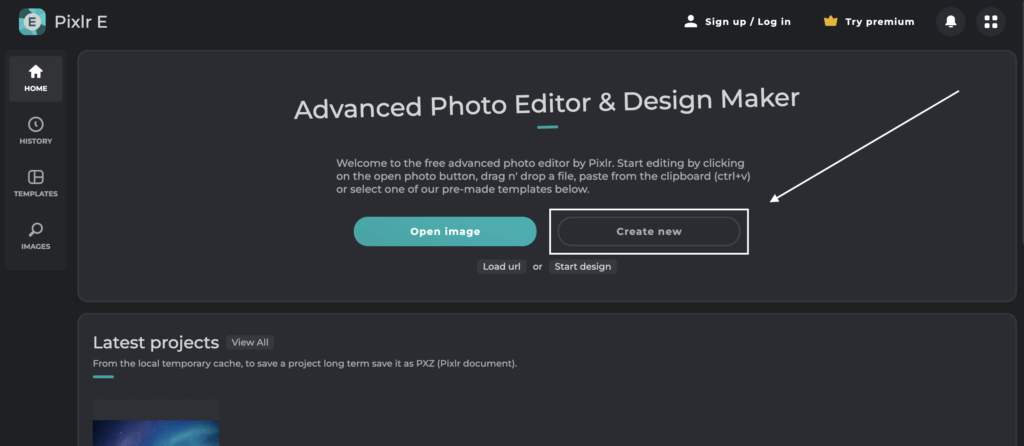
Create a new document or open an existing image:
You can either create a new document by clicking on “Create New” or open an existing image by clicking on “Open Image” and selecting the image from your computer.
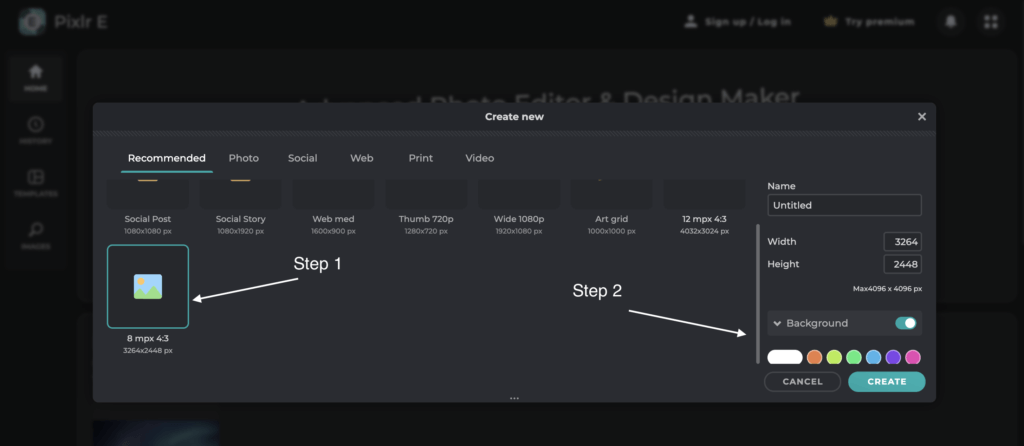
Create a canva with background
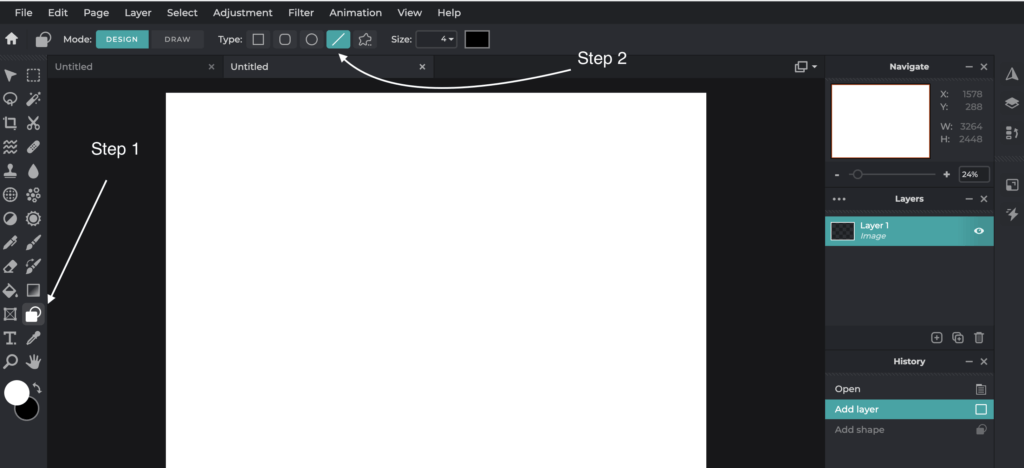
Select the Line Tool:
On the left-hand side of the Pixlr Editor, click on the “Line Tool” icon from the toolbar. It looks like a diagonal line segment.
In the top menu, you’ll find options to customize the line tool. Choose the desired line thickness by adjusting the “Size” slider. You can also select the line color by clicking on the color swatch next to “Color” and picking a color from the color picker.
Draw a straight line in Pixlr:
Click on the starting point of the line and, while holding down the Shift key, click on the endpoint of the line. The Shift key ensures that the line is drawn perfectly straight between the two points.
Adjust and fine-tune the line: If you need to make adjustments to the line, you can use the “Move” tool or the “Transform” options available in the top menu. These tools allow you to move, resize, or rotate the line as needed.
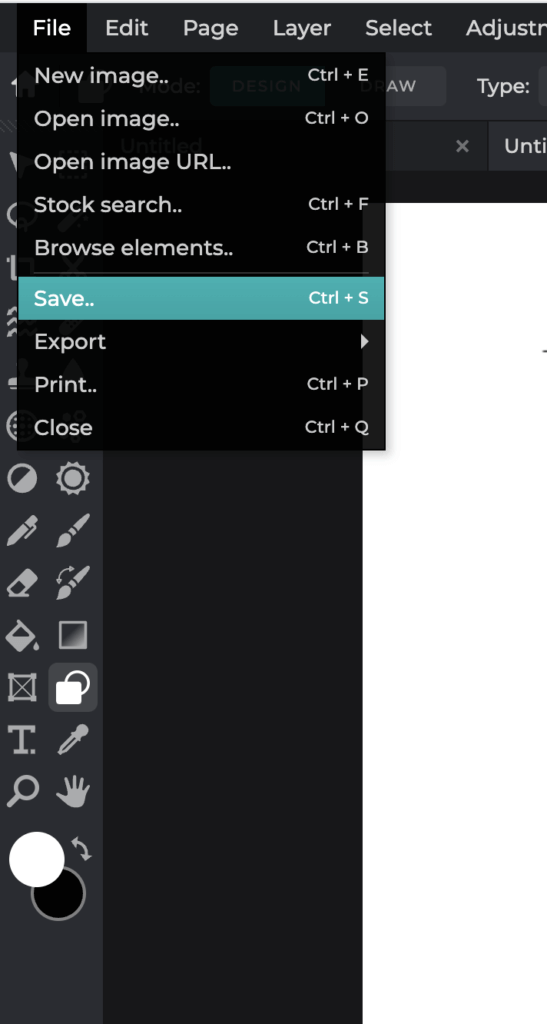
Save your image
Once you’re satisfied with the straight line, go to the “File” menu and choose “Save” or “Save As” to save your edited image. Select a desired file format (such as JPEG or PNG) and specify the destination folder on your computer.
That’s it! You have successfully drawn a straight line in Pixlr Editor. Remember to save your work regularly to preserve your changes.