

Adding a picture on top of another picture has become a popular technique to create eye-catching and unique visuals. Pixlr, a powerful web-based image editor, offers a range of tools and features that make this process accessible to both beginners and experienced users.
In this blog post, we will guide you through the step-by-step process of adding a picture on a picture using Pixlr, allowing you to unleash your creativity and enhance your images.
To add a picture on top of another picture using Pixlr, you can follow these steps:
Open Pixlr Editor
Go to the Pixlr website (https://pixlr.com/e) and click on “Open Pixlr Editor” to launch the web-based image editor.
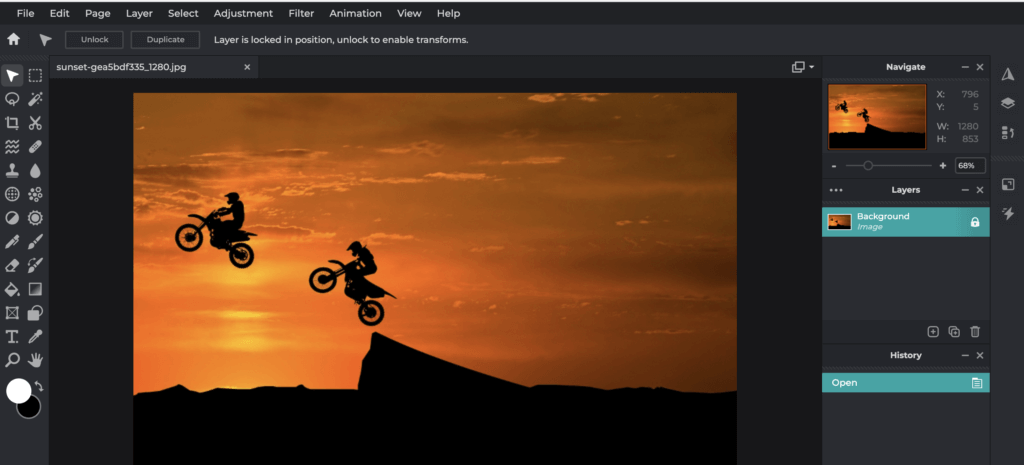
Open the background image
Click on “Open Image” and select the picture you want to use as the background.
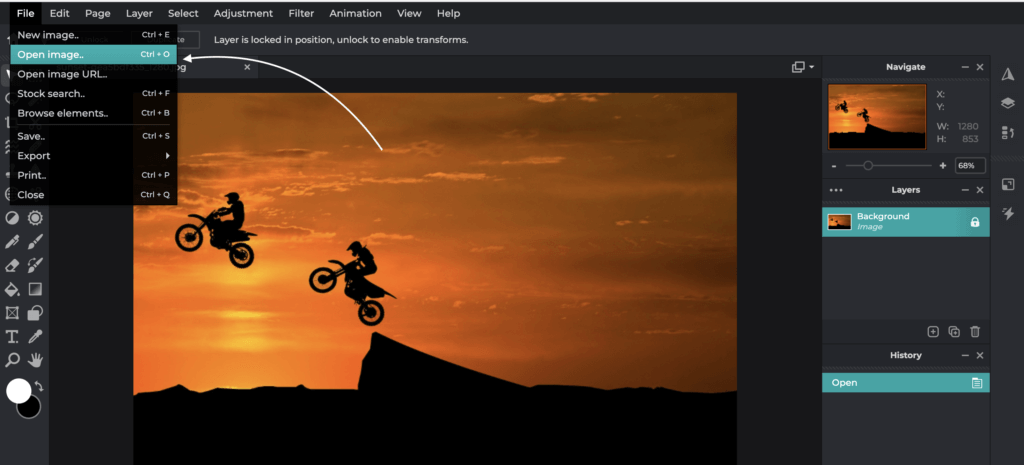
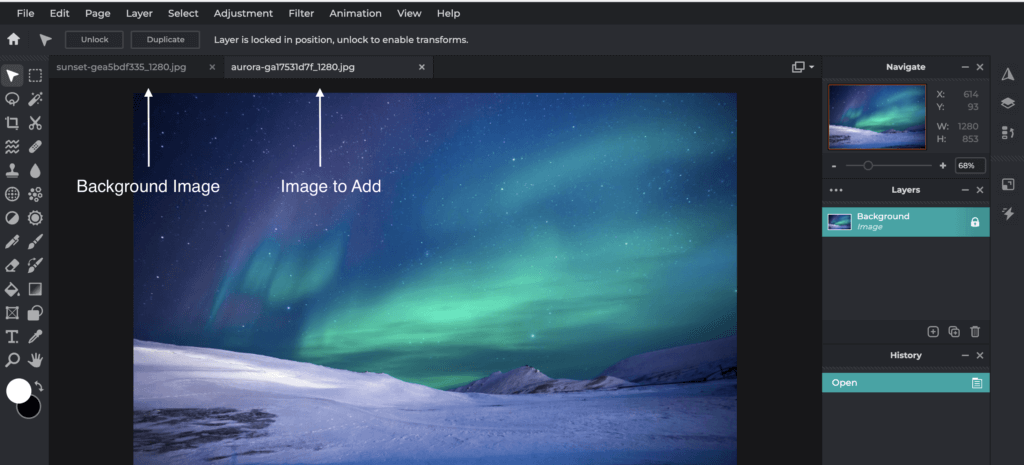
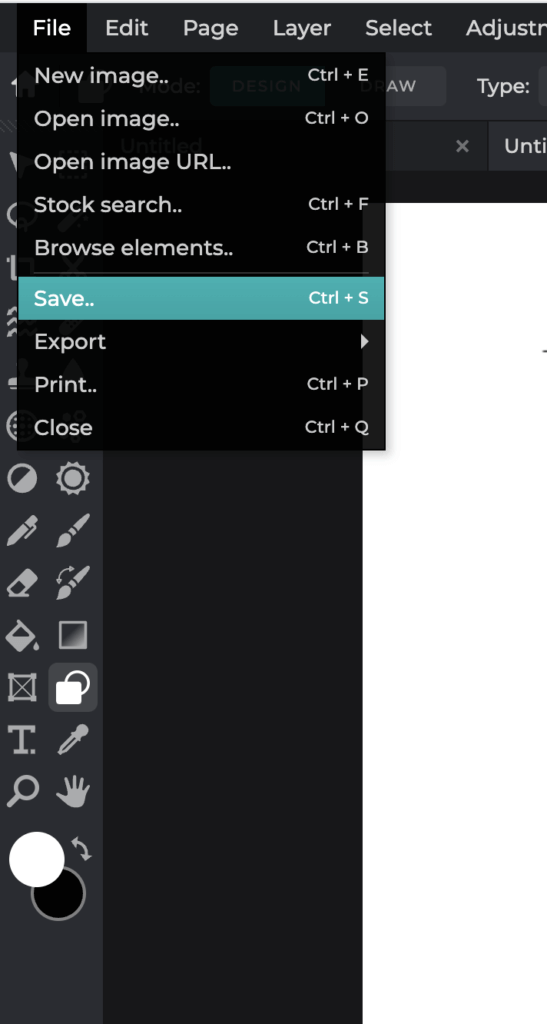
Open the image to add
In the Pixlr Editor, go to “File” and select “Open Image” or “Ctrl+o” again. Choose the picture you want to add on top of the background.
Adjust image sizes (if necessary)
If the added image is larger than the background or you want to resize it, go to the “Edit” menu and select “Free Transform.” You can then adjust the size, rotation, and position of the added image.
Move the added image to the foreground:
Click on second image and copy (Ctrl + c) or Go to the “edit” and select copy. Now move to the first image/background image and paste (Ctrl+v).
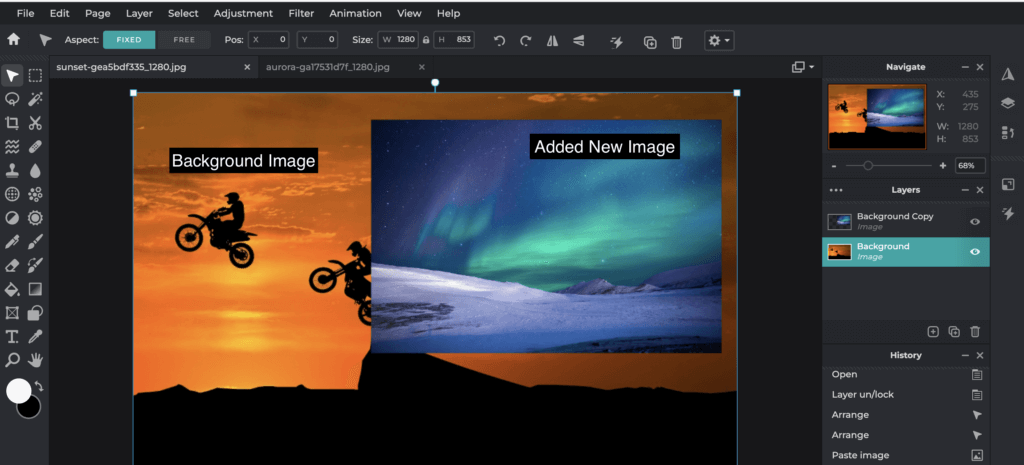
Position the added image
Use the move tool (top-left corner of the toolbar, or press “V” on your keyboard) to click and drag the added image to the desired position on the background.
Save your final image
Once you’re satisfied with the composition, go to the “File” menu and choose “Save” or “Save As” to save your edited image to your desired location on your computer.
So in this blog we learned how to add another image on one image in Pixlr. I hope this blog helped you