
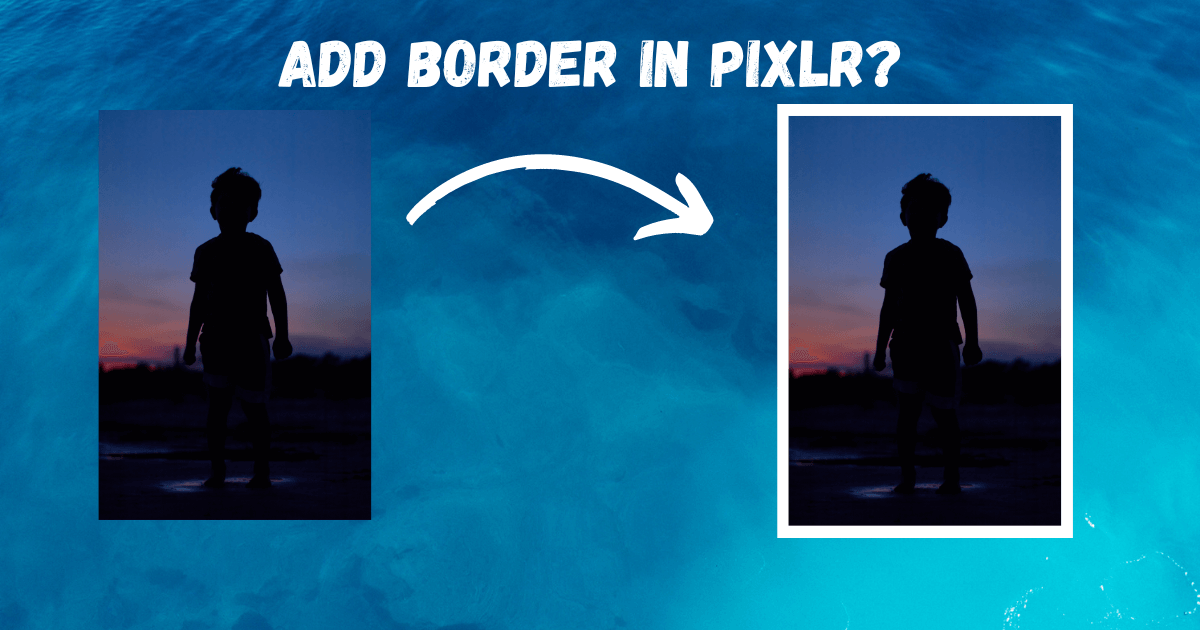
To add a border to an image using Pixlr, you can follow these steps:
Open Pixlr Editor: Go to the Pixlr website (https://pixlr.com/) and click on “Open Pixlr Editor” to launch the web-based image editor.
Open the image: Click on “Open Image” and select the picture to which you want to add a border.
Select the canvas size: In the Pixlr Editor, go to the “Image” menu and select “Canvas Size.” A dialog box will appear, allowing you to adjust the dimensions of the canvas.

Increase canvas size: Increase the width and height values to create a larger canvas that accommodates the desired border size. Ensure that the “Relative” option is selected, so the dimensions increase symmetrically.

Choose a background color: In the “Image -> Canvas background color” section of the dialog box, select the color you want for the border. You can choose from the available colors or click on the color swatch to open a color picker and select a custom color.
Apply the border: Once you’ve set the canvas size and chosen the background color, click on the “OK” button to apply the changes. This will extend the canvas and add the selected color as the border around your image.
Save your image: After adding the border, go to the “File” menu and select “Save” or “Save As” to save your edited image to your desired location on your computer.
It’s important to note that Pixlr Editor provides various customization options, such as adjusting the border size, changing its color, and even adding more complex border designs using layers and blending modes. Feel free to explore these additional features to achieve the desired border effect for your image.